Tuesday, February 7, 2017

2016 Garden Totals

Hey there!

I did not forget about you. Promise.

Sorry I've been away so long! Life sometimes just takes over! So let's get back to business.


Here are last year's garden harvested totals. My husband said maybe we shouldn't even post the totals because they are slightly embarrassing. (sad face). In our gardening defense, we happened to have a few trips (some unexpected) over our growing season that collectively added up well over a month away from our garden. The good news was that we installed a drip irrigation system that worked like a dream. But the bad news is that it seemed to not only water our vegetable plants but also watered the weeds taking over too!


Here is a glimpse of total pounds of food harvested from our past years.
   2015173 pounds
   2014309 pounds
   2013433 pounds

New items growing in the 2016 garden were:

  • Bok Choy
  • Okra
  • Potatoes - Purple
2016 Harvest Totals

Basil: 11.2 ounces
Bok Choy: 4 pounds 4.7 ounces
Cucumber: 4 pounds
Leeks: 2 pounds 4.8 ounces
Lettuce: 4.9 ounces
Mint: picked sparingly
Okra: 4 pounds 4.9 ounces
Onion: 1 pound 3.5 ounces
Oregano: picked sparingly
Parsley: picked sparingly
Pepper - Slim Red: 2 pounds 6.2 ounces
Potato - Purple: 12.4 ounces
Raspberry: 2 pounds 13.6 ounces
Rosemary: picked sparingly
Tomato: 33 pounds 0.1 ounce

Total Weight Harvested in 2016...  56 pounds 2.3 Ounces

Still not too bad for a completely organic garden grown from seed.

I am beyond excited to about all the new and exciting things coming up on the blog. I am diving head first into the world of essential oils and will be sharing DIY ways to use them for health and your home.


Thursday, February 4, 2016

2015 Year In Review

Happy New Year!

I hope this post finds you relaxing from the whirlwind of last year and especially last month.

We ventured back "Home" to Wisconsin for a 12-day trip over the holidays. We made a quick overnight stop in Asheville, North Carolina to see my brother and visit the Biltmore House, which was decorated for Christmas.


Photo credit Biltmore.com

We had a great time visiting with family and friends. There is always something left on the list to be done or visited for next time. Just this past Saturday we drove (the car adorned with colored Christmas lights including the dog, fish and 2 rowdy kids) straight through 7 states.

Now that we are back to our "New Home" in North Carolina, it is time to look back on how God has richly blessed us in the past year.


2015 Top 10 Favorite Posts
(click photos for link)


Garden Totals

What a year...
Having moved to North Carolina and completely missing the chance to grow seedlings and not yet having a tilled garden... I am a little afraid to add up the garden totals this year.  Even though we reconditioned a 10' x 10' planting bed into a 12' x 24' garden, timing was limited due to the move in March and having to navigate a new planting zone. In Wisconsin, we left behind a tended raspberry bed that we loved and cared for, mulberry bushes, pear trees, apple trees, established asparagus, strawberries and rhubarb.

New to the garden this year was:

  • Cantaloupe
  • Tabasco Peppers
  • Mini Pumpkins
  • Rosemary


Here is where we are coming from in garden totals:

   2014: 309 pounds
   2013: 433 pounds

2015 Totals

Beans - Green: 1.5 ounces (Don't know what went wrong. Grew well but no beans)
Cantaloupe: 6 pounds
Corn - Sweet: 7 pounds 4.9 ounces
Cucumber: 14 pounds 2.9 ounces
Lettuce: 27 pounds
Mint: 0.2 ounces (Minimal picking as is new, let grow)
Oregano: Let establish this year
Pepper - Banana: 2 pounds 0.4 ounces
Pepper - Bell: 1 pound 5.3 ounces
Pepper - Jalapeño: 3 pounds 0.1 ounces
Pepper - Tabasco: 1 pound 0.7 ounces
Popcorn: 2 pounds 12.1 ounces
Pumpkin: 1 pound 1.1 ounce (From a small plant that came home from school)
Pumpkin - Mini: 8 pounds 3.5 ounces
Raspberry: 2.9 ounces (Hopeful for this year after some seriously needed pruning)
Rosemary: Finally!!! Let grow to establish
Tomato: 59 pounds 3.3 ounces
Watermelon: 41 pounds 2.8 ounces

Total Weight Harvested in 2015... 173 pounds 8.5 ounces

Now to plan for this coming year's garden! :)

Monday, June 1, 2015

Update From North Carolina


Wow! 2015 has already been full of adventures for our family and we are approaching the half way point of the year!

First and foremost, so sorry for the prolonged absence!

Here is a little bit about what we have been up to...

Right before Christmas, Ron accepted a new job in North Carolina. Just days into 2015, Ron left Wisconsin to start work and this left us, girls back home to sell our house. The house sold fairly quickly, within 3 months from listing to closing. This meant we had a whole house to pack up, a new house, school, and church to find. Oh, and then there was the moving us and everything we own 1000 plus miles away.

Ron found a church right away in the area and they have already been a huge blessing to our whole family.

We found a great home and neighborhood on a little over an acre of land in Eastern North Carolina. It has great sunlight and mature trees! We even have raspberry bushes.

There have been many new adjustments for us all, but we were definitely not prepared to start a garden immediately. After all, I still had to find all the gardening tools in our moving mess.

"Up north" we would not plant until after Mother's Day or even Memorial Day. But down here I was told to wait to plant after Good Friday! That is a huge increase in our growing season and means I have to get moving!

Sadly, we were grossly disorganized with moving, starting a new school and just trying to get around town. Planting has been slow going but is happening and we will keep you posted on the progress!

Here are a few pictures from the beautiful blooms in our yard.


Upcoming Post:  Starting a garden plot.

Friday, January 2, 2015

2014 In Review

It is time again to reflect on last year and get ready for the year ahead.

I thought it would be fun to look back on all that has happened both on Sustainable Blessings and in our yard this past year.

Here is a listing of the most popular posts in 2014:

http://www.sustainableblessings.com/2014/01/tater-tot-casserole.html

http://www.sustainableblessings.com/2014/01/beer-cheese-pretzel-dip.html

http://www.sustainableblessings.com/2014/04/morel-mushroom-hunting.html

http://www.sustainableblessings.com/2014/03/lemon-bars.html

http://www.sustainableblessings.com/2014/03/honey-oatmeal-bread.html


What We Grew In 2014:

We continued to weighing the harvests from our garden and yard this year. Last was the first year I weighed any harvests and we came in at 433 pounds 3.5 ounces!

Asparagus: 10.5 ounces, our first harvest after planting them 3 years ago!
Beans - Green: 1 pound 5.7 ounces
Corn - Sweet: Raccoons ate it all!
Cucumber: 39 pounds 14.3 ounces
Cucumber - Pickles: 3 pounds 6.7 ounces 
Garlic: 0.7 ounces 
Garlic Mustard: 0.1 ounce
Kale: 4.5 ounces
Lettuce: 2 pounds 6 ounces
Mulberry: 9.11 ounces
Nasturtium: 0.2 ounces
Onion - White: 8.1 ounces
Pear: 8.6 ounces
Pea - Sugar Snap: 6.1 ounces
Pepper - Green: 5.5 ounces
Pepper - Jalapeño: 5 pounds 14.4 ounces
Raspberry: 3 pounds 2.8 ounces
Rhubarb: 3 pounds 1 ounce
Strawberry: 2.7 ounces
Tomato: 200 pounds 4.4 ounces
Tomato - Cherry: 3 pounds 15.7 ounces
Violets: 0.1 ounce
Watermelon: 36 pounds 6.7 ounce

Total Weight Harvested in 2014... 309 pounds 5.91 ounces!

Saturday, July 12, 2014

Seasoning Salt

Making your own seasoning salt can be a fun way to put your personal touch on any dish. We love sprinkling this seasoning on popcorn.


Seasoning Salt
(makes about 1 pint)

2 cup sea salt
2 tablespoons paprika
1 tablespoon dry mustard
1 tablespoon garlic powder
1 tablespoon onion powder
1 teaspoon turmeric

In bowl, combine all ingredients until mixed well. Store in airtight container in dark place. Use to season anything you would normally put salt on.


Makes a frugal and easy gift too! Just place mix into a mason jar and label.

Thursday, June 26, 2014

DIY Weed Killer Spray

Weeding is back-breaking work and too often I spend hours weeding only to have the weeds sneak back in no time at all. Pre-made weed sprays can work wonders, but are expensive and who wants to spray chemicals all over the yard? Not me. I found a better solution that not only works faster and better, but is much cheaper.


DIY Weed Killer Spray
Ingredients:
  • 1 gallon vinegar
  • 1/2 cup table salt
  • 1 teaspoon Dawn liquid dish soap (used the basic blue type)
Mix all ingredients together. I just shaked to combine.
Pour solution in a spray bottle or into a pressurized sprayer. Now attack those weeds.

For best results: Apply when rain is not forecasted for a day or two. Keep in mind this solution will kill anything that is put on. So if you spray plants you want to keep, it will kill them. But on the bright side the spray will also kill off grass if you planning to make a new planting bed.

This a very Eco-friendly way to beat those weeds. We love that we can use this solution and not worry about the kids or the dog being by where we sprayed. We also live on the river and don't want to have dangerous run off adding to the pollution of the river. 

This solution created very quick surprising results. We have many thistles that we are fighting against in a bed we are trying to regain control of. I used this spray in only 4 hours the leaves were already brown and the weeds were on their way to wasting away. Victory! 

Before & 4 hours after application.

Monday, June 2, 2014

Garden Update: Week of 5/25/14

Wow, what a busy week it has been at our house...
Memorial Day charity walk, dance rehearsals and recitals, last day of school, awards ceremony, gymnastics practice, a theater play, pine car derby and oh, yeah gardening.

Despite our busy schedules we were able to get some more of the garden planted...
Jalapeños, sweet corn, popcorn, decorative corn, sugar snap peas, green beans, spinach, broccoli, garlic, horseradish, onions, cucumbers, pickles, watermelons, carrots and quinoa.

And we planted the saddest tomato plants I have ever seen. We found 3 huge, but neglected tomato plants at Aldi's, for 50 cents total. The nurse in me is hoping to bring them back to health. Our tomato plant total is now at 32 (we may need some reinforcements when these are all ready to be harvested and preserved).

Our evenings are falling back into our summer routine, which brings Ron outside after dinner to water the garden. We are hoping to use mostly drip irrigation on the garden but there is a back corner that is getting the sprinkler treatment for the moment. Drip irrigation helps to create wider and deeper roots and makes your plants healthier. 

Here is a peak at the wildlife gracing our yard this past week:


Here is a recap of what else you might have missed from the week:

http://www.sustainableblessings.com/2014/06/foraging-and-preserving-ramps.html

Sunday, June 1, 2014

Foraging and Preserving Ramps

There is such a wonderful feeling that comes with finding your own food out in the "wild". It is like you are so lucky to find this tasty treat out in the wilderness just waiting for you. I was not brought up foraging but I have quickly learned to love it. It brings together many things I love: frugality, nature and spending time with my family. Just recently our family had a great time foraging for ramps and here are a few tips to help guide your efforts.


Ramps (Allium tricoccum) go by the name ramsons, wild garlic, wild leeks or spring leeks and have become widely popular in the last few years. They have a wonderful flavor combination of garlic and onion. These plants offer a wide variety of uses from the bulbs to leaves.


Ramps have 1 to 2 broad, smooth, light green leaves that progress into deep purple or burgundy coloring down the stems into the white bulbs. The bulbs are similar to scallions or green onions. The bulbs are rooted in the dirt, just below the surface of the earth. If you are still not sure if you found a ramp, just rip into the leave and take a whiff. You should notice a strong onion scent.

Be warned that the lily of the valley (Convallaria majalis) can have a similar appearance and are poisonous. But the leaf of the lily of the valley does not smell of onions. Lily of the valley also has small white bell shaped flowers.

With the popularity of ramps, they are getting harder and harder to find. Here are a few ways you can get your harvest on and still keep the ramps growing for years to come too. You should only harvest a portion of any items you find foraging and only take what you will use. This will keep this plant growing in your favorite location year after year. You can also leave the roots behind by cutting the roots off of the bulb.

Ramps are very versatile. The bulbs and leaves can be used just like you would onions, green onions, chives and garlic. But the effects are much more flavorful.

After you have harvested the ramps, you should wash them in cold water, rinsing well. Lay them out to dry. Cut off the roots from the end of the bulb. (Tip: Save the rooty ends and plant them in a shady location within your yard for your own sustainable crop.)

Next, separate the white part from the green leaves. Slice up the white portion into sections for use in whatever recipe you choose. The green leaves can be chopped and added to a salad or even puréed into pesto. 

For long term storage:
The white portion of the ramp can be stored in a freezer, in a plastic storage bag for months. This portion can also be pickled. Or the entire harvest can be kept in the refrigerator for a week or so. The green portion does not freeze well, so use when freshly harvested.

Sunday, May 25, 2014

Garden Update: Week of 5/18/2014

Here is what is happening around our yard this past week.

Our trunk load (no joking... a dump truck load) of mulch is placed and spread in all the planting beds and around the garden fence.

Cleaned up a deprived and ignored bed that bordered our beloved neighbors.

Moved a large burning bush that was blocking our mulberry tree. Unearthed some tulip bulbs in the shady spot that we placed the bush. So the tulips had to be relocated to a sunnier spot in the yard. I love how gardening projects just lead into one another!


Cut the grass for the first time this season. We lowered the length down to 2.5 inches as we wanted the sunlight to reach the grass seed we placed last week. Usually we cut the grass at 3 inches.

Time to get planting...
Mojoto mint, lemon balm, lemon mint, rosemary, pineapple sage, lots of lettuce, kale, nasturtium, 4 peppers and 29 tomato plants (I may have gone a little over board), all but 3 tomato plants were from seed. Hoping to finish up the rest of the garden this week which should go pretty quick as just about everything left is seeds. 

Planted our front door flower pots. Tried the "thriller, spiller and filler method" with the artistic suggestions from my youngest daughter. In this method, there's one tall, eye-catcher, a creeping/vine variety and a species that fills in nicely - all in the same pot! We are hoping get bigger, as long as the deer stay off them.


We attempted to find morels on 2 hikes in the area, but were disappointed. We can't even seem to find any remnants of where they were picked. But lucky we spotted ramps. Everyone in the family helped harvest 2 shopping bags full. The final weight was 2 and a half pounds after removing the leaves and roots. Look for our next post on spotting and using ramps.


Here is what else you might have missed for the week:

http://www.sustainableblessings.com/2014/05/blanching-tutorial.htmlhttp://www.sustainableblessings.com/2014/05/morel-asparagus-quiche.html

Saturday, May 24, 2014

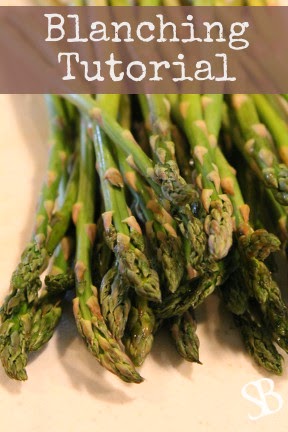
Blanching Tutorial

What's blanching? And why all the fuss?

Blanching is the process of placing fresh vegetables in boiling water or steam for a very short time amount of time to "seal in freshness".

This process is a must if you desire to freeze your produce. By not blanching your vegetables you are loosing texture, color and flavor. Blanching not only cleans the vegetable but helps it to not to loose deliciously healthy vitamins and minerals.

The best way to prepare your vegetables for freezing is to use the boiling water method. You can use a blancher or large saucepan with a wire basket to fit in the pot or large slotted spoon. Personally, I use a large pot and a wok spoon.

Boiling Water Blanching: 
  1. Bring a large pot of water to a boil. 
  2. Prepare your vegetables by chopping or slicing. 
  3. Place approximately 1 pound of the same vegetables into the blanching basket. 
  4. Place vegetables into the boiling water for the recommended branching time.
  5. Return the water to a boil as quick as possible. 
  6. Start your blanching time as soon as the water returns to a boil. 
  7. Remove the vegetables from the boiling water when the blanching time is completed with a wire stainer. 
  8. Place the blanched vegetables into a large bowl of ice cold water, 60ºF or below. This stops the cooking process. 
  9. Once the vegetables have cooled, you can drain the ice cold water. 
  10. Label your freezer-grade plastic zipper bags with name of the vegetables and the date. 
  11. Place blanched vegetables in plastic bag. Try to squeeze out as much air as possible. 
  12. Freeze your bag laying flat, to maximize your freezer space. 


Per Nation Center for Home Preservation, blanching the vegetables for the recommended times below is important to preserve your harvest. If you don't blanch long enough, this can stimulate the enzymes in the vegetable to accelerate ripening. If you blanch too long, the vegetables can loose color, flavor, vitamins and minerals.

Blanching Time:

VegetableMinutes
Artichoke (heart)7
Asparagus2 to 4
Beans- Snap, Green, or Wax 3
Beans- Lima, Butter, or Pinto2 to 4
Broccoli5
Brussel Sprouts (head)3 to 5
Carrots2 to 5
Cauliflower (flowerets)3
Celery3
Corn (on-the-cob)7 to 11
Corn (kernel) 4
Eggplant4
Mushrooms 3 to 5
Okra 3 to 4
Peas (edible pod) 1.5 to 3
Peas (blackeye) 2
Peas- Green1.5
Peppers-Sweet2 to 3
Potatoes (new) 3 to 5
Rutabagas 33
Soybeans- Green 5
Spinach15 seconds
Squash- Summer3
Turnips or Parsnips2
Zucchini3

Note: Microwave streaming is not an effective method for blanching because the vegetables can cook unevenly and some enzymes may still be active and cause additional ripening.

Wednesday, May 21, 2014

Morel & Asparagus Quiche

Spring is in full swing and glimpses of summer are sneaking through around here. This recipe captures the harvests of this time of year and combines them into a very special recipe you will love.


Morel & Asparagus Quiche
Ingredients:
  • 1 pie tin

  • 1 pre-made pie crust
  • 
3/4 cup shredded cheese
 (used mozzarella)
  • 6 eggs

  • 1 cup of milk

  • 1/2 tablespoon thyme 

  • 1/2 tablespoon basil

  • 1/2 teaspoon onion powder
  • 1 teaspoon Parmesan cheese
  • 1 1/2 cup of uncooked morel mushrooms, chopped 

  • 6-8 spears of asparagus, cut into 1 inch pieces
  • 1/2 cup fresh spinach, chopped

Directions:
  • If you are using fresh morels, check out our prior post on how to prepare morels.
  • Preheat the oven to 350° F.
  • Sauté morels over medium heat for 10 minutes. Always cook morels! 
  • Place shredded cheese into the bottom of the pie crust.
  • In a large bowl whisk together eggs, milk, thyme, basil, onion powder and Parmesan cheese.
  • Add morels, asparagus and spinach to egg mixture. Stir to combine.
  • Pour into pie crust.
  • Bake in the oven for 30-45 minutes until the top is golden brown and the eggs are solid in the middle. (You could check this with a toothpick or a fork).

Click for more homemade recipes from Sustainable Blessings.

Sunday, May 18, 2014

Garden Update: Week of 5/11/2014

Last year brought much change around our house and with these changes brought less time to tend to the garden. This year we have been working hard to allow me (Michelle) more time to be with my girls and garden! With this new focus, I have decided to dedicate more time for the yard. So we are starting to keep track of all the work we are doing around here.

Check out our past week:

We have had a wild weather week. It rained and then rained some more. There were a few days of severe thunderstorms and flash flooding. And... a frost warning too just to keep thing interesting. Our weather radio got a workout this past week, but all is well at our house.  Gotta love Wisconsin weather!

We picked up a new bird bath. This was my Mother's Day gift, plus breakfast in bed with roses!


Right on que the tulips decided to bloom on Mother's Day. That was a gift in itself.


We started to see Hummingbirds! So it was time to fill up the hummingbird feeder with homemade hummingbird nectar.  Our feeder is right outside our kitchen bay window, so we get to see the hummingbirds quite often. Here is our Homemade Hummingbird Nectar recipe.

http://www.sustainableblessings.com/2013/07/homemade-hummingbird-nectar.html

The yard got some much needed attention. Ron has been busy with sweeping, aerating and seeding the lawn. A much need task as a drought several years ago left a few bare areas that we have pretty much ignored.

We tried to rototill the garden but the rototiller had other plans... The handlebar snapped off after just a few passes in the garden. So my jack-of-all-trades husband welded and grinded the pieces back together and strengthened the other handle too. Then the garden did get rototilled!

There were a few surprises discovered in the garden.  We had a some wintered over vegetables and herbs. There are onions (guess we forget to harvest a few), lettuce (because I let it go to seed last fall) and parsley back again.

Our first harvest took place this week. We harvested 10 ounces of asparagus. This may not seem like much but asparagus takes 2 years of growing before you even get to harvest it and this is our very first harvest ever! I can't wait for this patch to take off in the years to come.


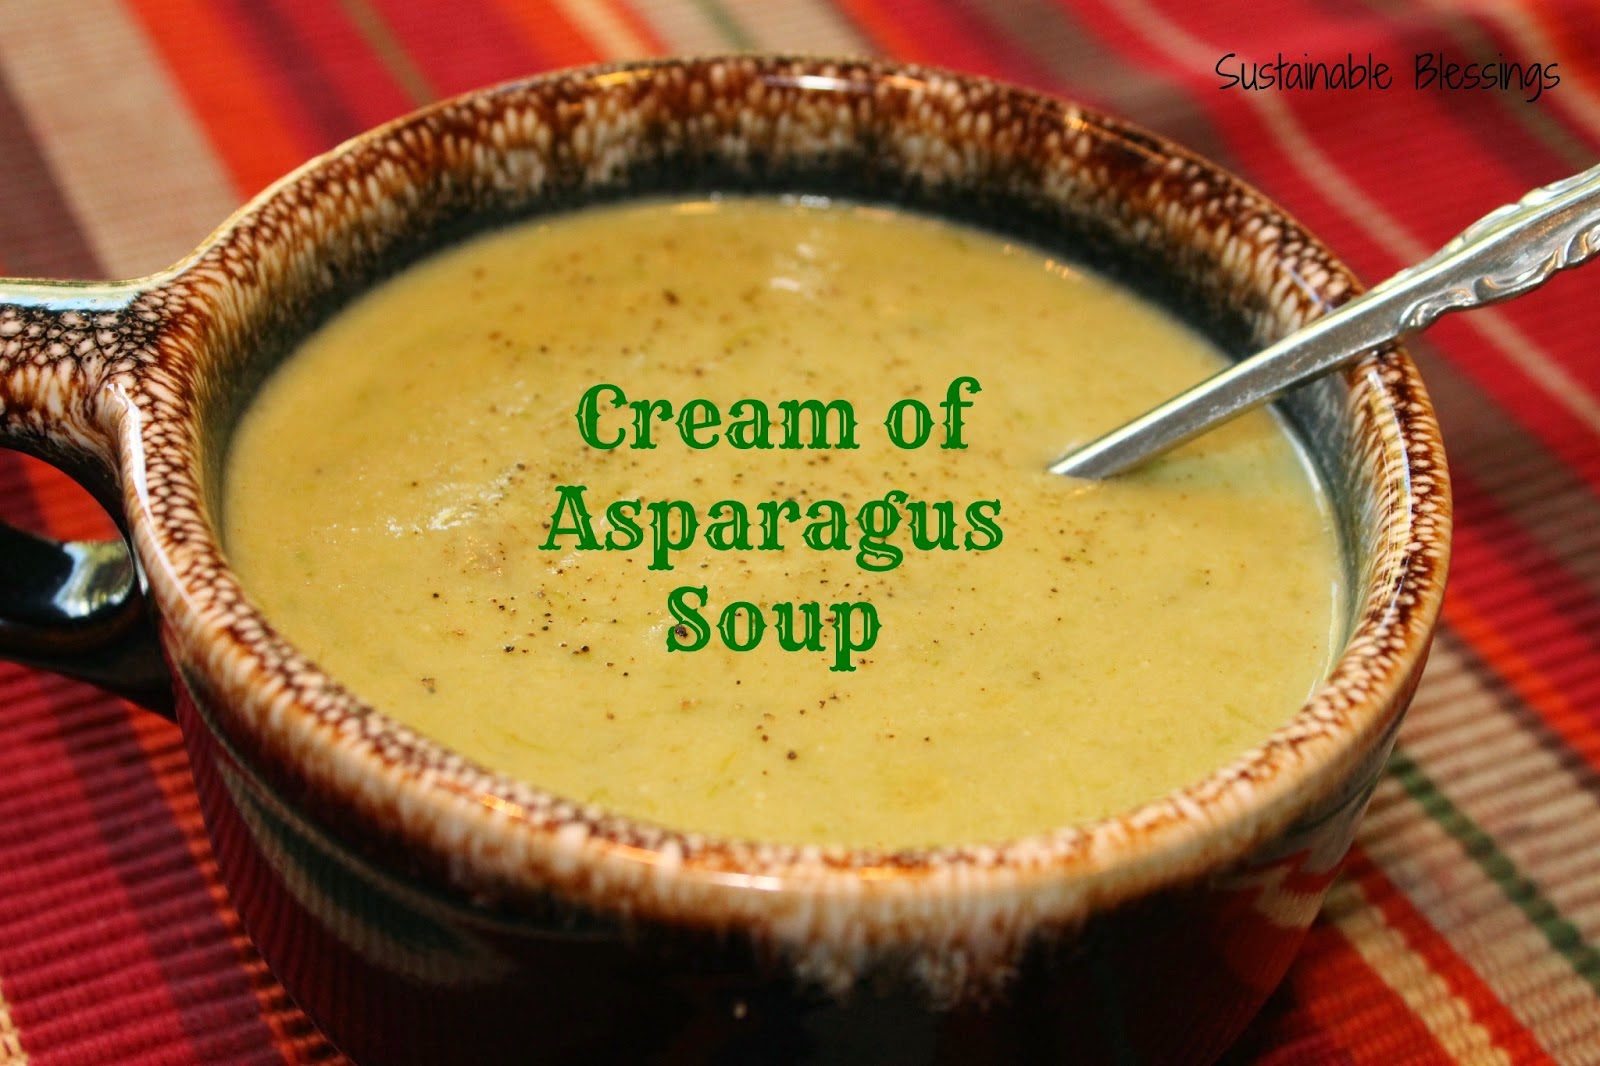
Check out our recipe for Cream of Asparagus Soup to use up some of your harvest.

http://www.sustainableblessings.com/2013/07/cream-of-asparagus-soup.html

Happy gardening this coming week!

Saturday, May 17, 2014

Garden Journaling

What did I plant here last year? When did I start planting my seeds inside? When will the raspberries be ready to be harvested?

These are all thoughts that can go through a gardener's head throughout the year. But now you can easily take the guess work out of gardening by keeping a gardening journal.


This can be as elaborate as you wish. For me, my garden journal is a simple spiral bound notebook I use year after year. A more elaborate design may include seed packets, plant markers from purchased plants, drawings or photographs.

What to write in your journal?
  • The name of plants you grew from seed and when you planted them.
  • The name of every plant you place in your garden and yard; perennial or annual. Note where the plants are placed in which planting bed or the direction of the yard.
  • Any yard maintenance you did: placing mulch, making a new planting bed or trimming trees.
  • Any problems with the weather or animal issues in the yard. 
  • Draw out your vegetable garden design for the year. This helps you to rotate the types of plants placed every year which is beneficial for the soil and your harvest.
  • A list of what is harvested when and how much or the weight of what was harvested. (this is my favorite part!) 
  • An additional thing we keep track of is what and how much we freeze, dehydrate or can from the garden and when. 
Take your que from history, no one in America is better known for his garden journaling then Thomas Jefferson. He spent countless hours chronologizing the garden happenings at his beloved Monticello.

Image Credit: Thomas Jefferson Foundation
No occupation is so delightful to me as the culture of the Earth, and no culture comparable to that of the garden. - Thomas Jefferson
 

Saturday, May 10, 2014

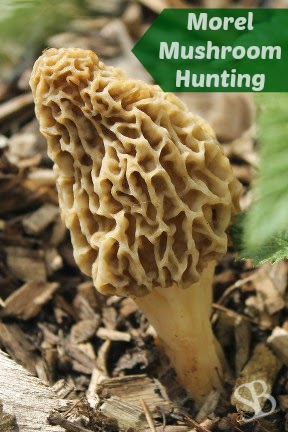
Preserving Morel Mushrooms

You found them! The elusive prized mushroom known as the... Morel Mushroom. Here is how to keep these prized beauties to enjoy them all year long.


There are a few maintenance things to be done before you enjoy your lucky finds.
  • First things first...If there is any question about the type of mushroom you just picked, do not eat it! Check out my tutorial on how to find Morel Mushrooms.
  • Secondly, be aware that morels contain small amounts of hydrazine toxin that is removed through cooking. Do not eat morel mushrooms raw, ever.
  • And of course be aware the you just picked food from the ground, out in nature. That means not only is there dirt on the morel but there could also be other living things on it as well, like bugs or small slugs. To remove these items from the mushroom simply sprinkle them with salt and then cover with cold water. Place the mushrooms into the refrigerator for about 8 hours or overnight to remove anything unwanted.


On to how to prepare these gems. One of the best and simplest ways to enjoy morels is by gently sauteing them in butter with a little fresh ground pepper and a sprinkling of salt.


Or you could soak the mushrooms in an egg batter and bread them with flour, then fry them up. If you slice the mushroom length wise and then bread and flour, the outline resembles a fish. Another common name for morel mushrooms are dryland fish.

If you are not planning on eating your morels right away you can explore the following preserving ideas:
  • Freezing:
    • The morels can frozen through a method called flash freezing. You can do this by running the mushrooms under cold water or soaking them in a bowl of ice water for a few minutes. Then place them on a cookie sheet or pizza pan and place into a freezer. After the mushrooms are frozen, place them in a labeled container or freezer-safe plastic bag.
  • Drying / Dehydrating: (the method I use most)
    • Drying is the most popular method of long-term storage and are sold this in this fashion commercially. When I dry morels, I like to chop them prior to drying as then they will be recipe ready. 
    • Place mushrooms in a single layer on the dehydrator pans. Set your dehydrator to 130° F for 10-12 hours.
    • Dried morels can be reconstituted by soaking in warm water or milk.
  • Canning:
    • Canning is not recommended because the canning pressure and temperature destroys much of the flavor.
In a post coming soon is a delicious recipe for using your morels.